Step-by-Step Python Environment on MacOS
This guide walks through setting up a Python development environment on MacOS using Visual Studio Code, including package management, virtual environments, and recommended configurations.
1. Install/Verify Homebrew
# Check if Homebrew is installed
brew --version

# If not installed, install Homebrew
/bin/bash -c "$(curl -fsSL https://raw.githubusercontent.com/Homebrew/install/HEAD/install.sh)"
2. Install/Update Python using Homebrew
# Install Python
brew install python

# Verify Python installation
python3 --version
3. Verify pip Installation
pip (Python package installer) comes with Python installed via Homebrew. Verify it:
# Check pip version
pip3 --version
4. Configure VS Code
- Install Python extension for VS Code
- Open VS Code Command Palette (Cmd+Shift+P)
- Type “Python: Select Interpreter” and select the Python version installed via Homebrew
5. Create and Activate Virtual Environment (Recommended)
For each Python project, it’s recommended to create a virtual environment:
# Navigate to your project directory
cd your_project_directory

# Create virtual environment
python3 -m venv venv

# Activate virtual environment
source venv/bin/activate
6. Install Required Packages
After activating virtual environment, install required packages:
# Install packages
pip3 install package_name
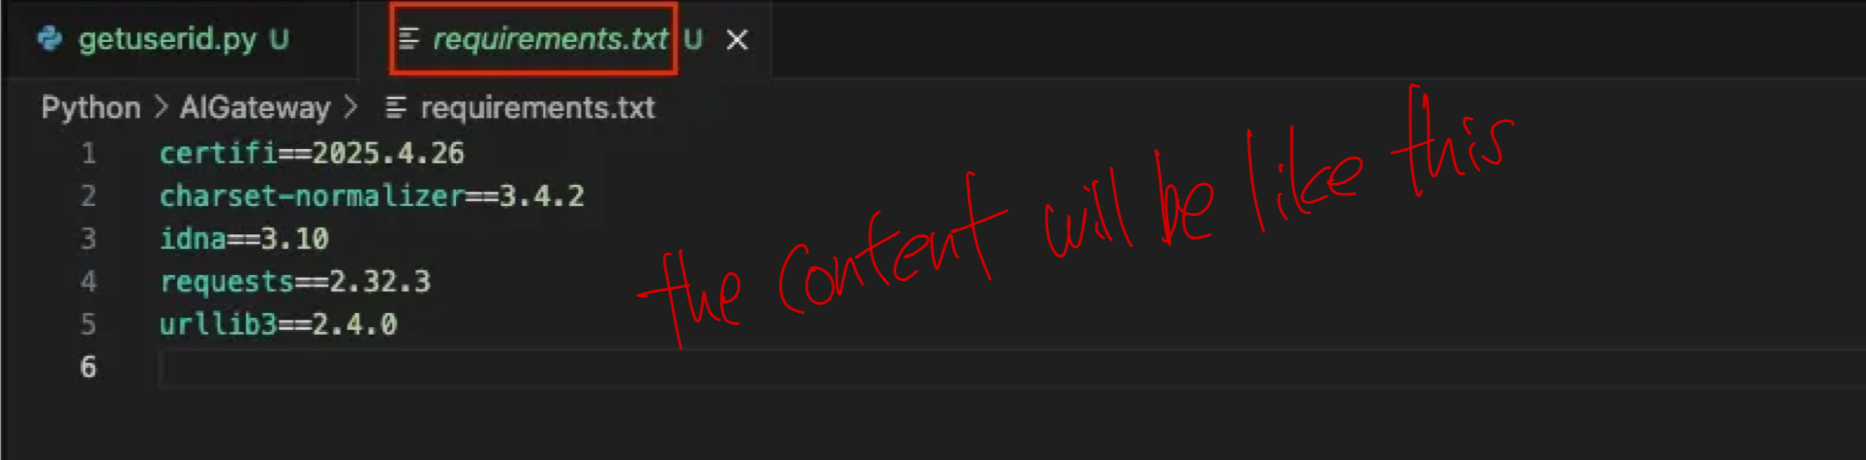
# Save dependencies to requirements.txt
pip3 freeze > requirements.txt
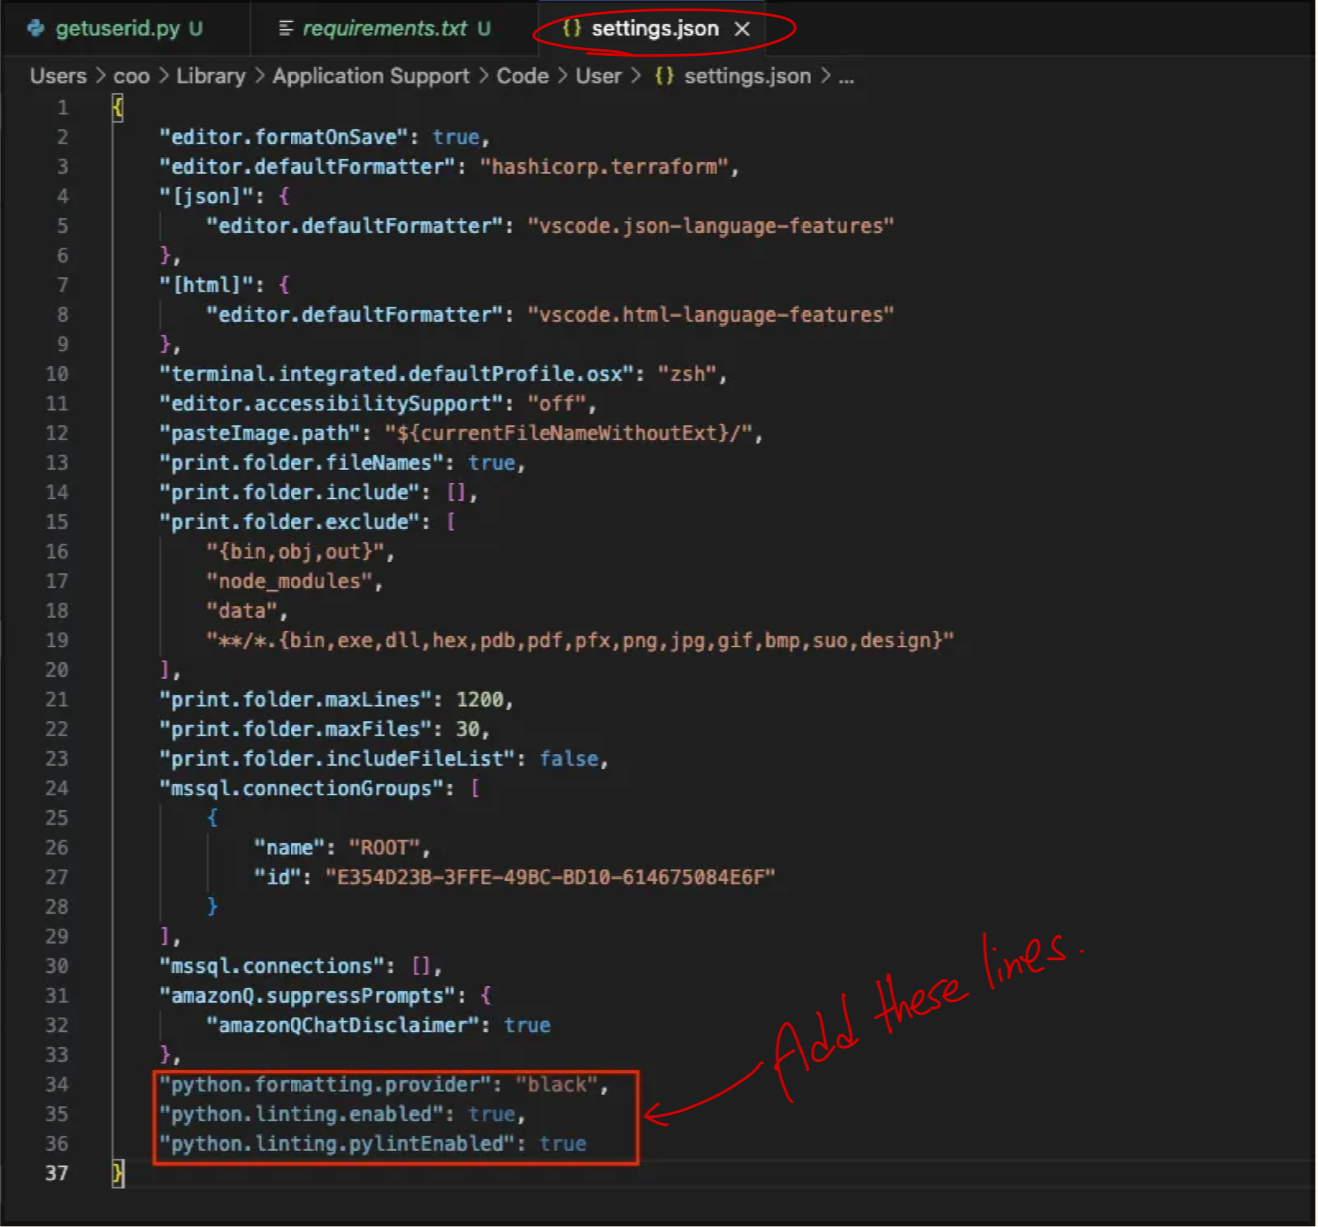
7. VS Code Settings (Optional)
To modify settings.json in VS Code:
- Open Command Palette (Cmd+Shift+P)
- Type “Preferences: Open Settings (JSON)”
- This will open the settings.json file where you can add the Python-specific settings
{
    "python.formatting.provider": "black",
    "python.linting.enabled": true,
    "python.linting.pylintEnabled": true
}
8. Deactivate Virtual Environment
When you’re done working in the virtual environment, you can deactivate it:
# Deactivate virtual environment
deactivate